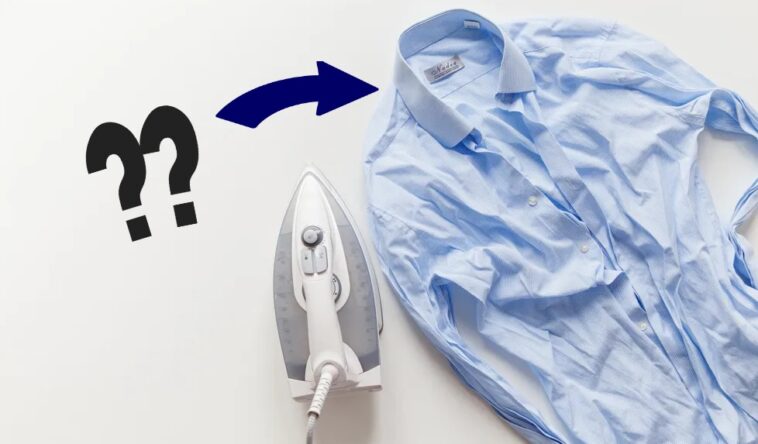
The shirt is obligatory in the wardrobe of many workers. It can also find its place in the wardrobe for special occasions when you need to be more dressed up (weddings, baptisms, etc.). In addition, many people simply like to have this classic at home. However, the question of ironing a shirt or blouse is enough to discourage you from wearing one! Indeed, whatever we do, there is always a mistake and we never know where to start. After long minutes of ironing your shirt, you sometimes end up with even more creases than at the start. So, how to iron a shirt quickly and well? Is it obligatory to starch this garment? Here are all our grandmother’s tips and tricks to make it child’s play and have an impeccable outfit.
1) Gather the right conditions to properly iron a shirt and make the task easier
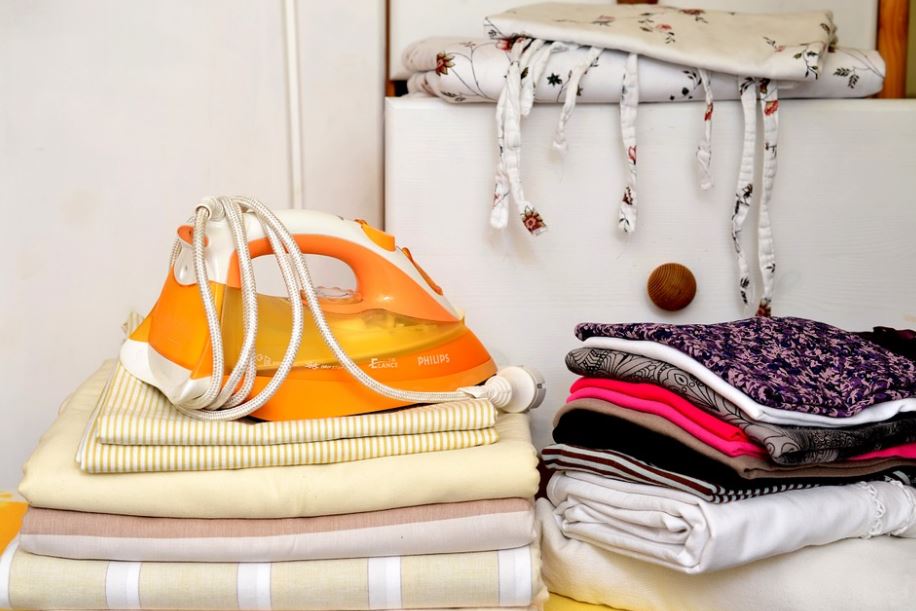
-Washing and ironing temperature, care…Before handling, check the care code on the shirt label. This will prevent you from burning it!
-If you don’t have a steam generator, make sure the iron has the steam option. This helps relax the fibers of shirts and thick textiles. to smooth them better. Make sure the soleplate is clean and well descaled with white vinegar.
-No steam setting? So, prepare a pattemouille with a damp cloth or towel. Otherwise, work on a shirt still damp. This can be done shortly after washing or sprayed with water if the shirt has had time to dry. The folds will be less hard.
-Finally, if possible, equip yourself with a Jeannette. This is ideal for making ironing easier and avoiding creases on collars, pockets and sleeves when you have a lot of shirts to make!
2) The extra tip: use a hanger for drying and storage
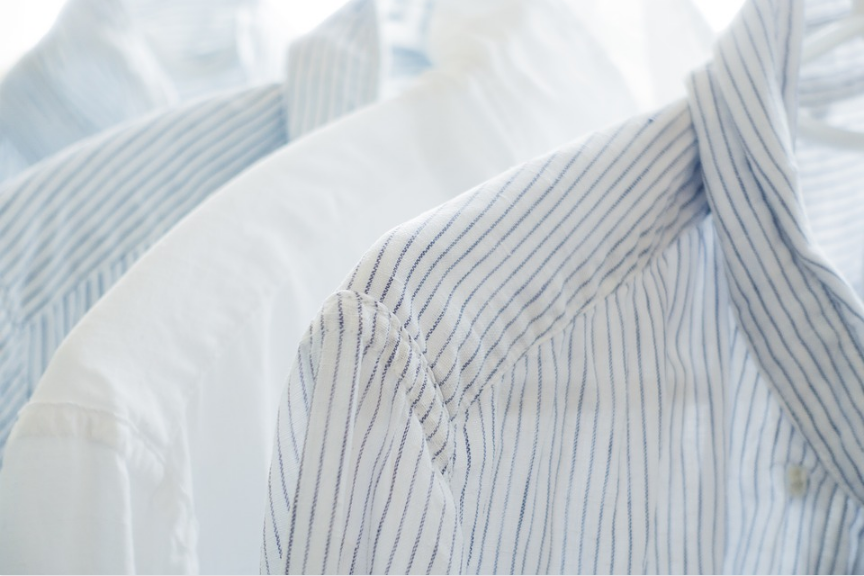
To make things easier for you, there are a few tips, starting with using a hanger! Indeed, it is above all a matter of best way to store a shirt after ironing to avoid creases caused by folding. Simply attach the first button to maintain its pristine appearance. It is also a better tool than the classic clothesline or drying rack before ironing. By letting the shirt dry slightly on a hanger before ironing, you will already smooth out a large part of the creases (they will disappear under the effect of the weight of the wet shirt). It won’t be enough to avoid having to do this chore, but it will be a bit of a hassle for you.
3) The correct order for ironing a shirt
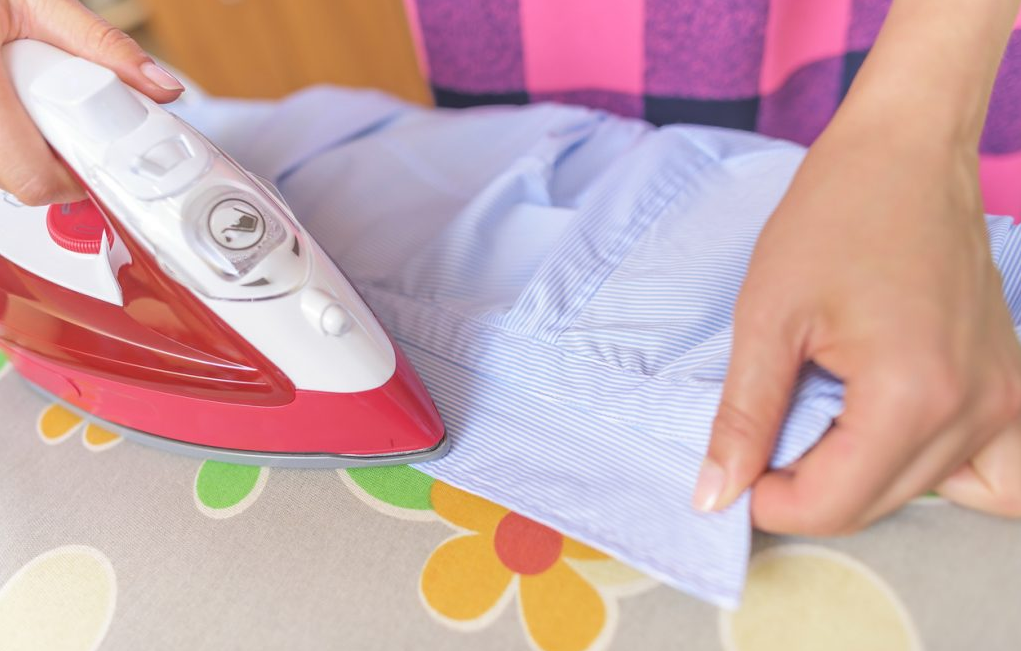
1) Always start at the collar from which you have previously removed the whalebones. Go from the center to the ends then slowly return to the center. Think about pull the ends tightly to prevent them from curling. All you have to do is fold it and iron it so that it keeps its shape.
2) Then, put the sleeves in the jeans (if possible) and iron them starting from the unfolded wrist, clearly marking the folds towards the elbow then from the elbow towards the shoulder. Without jeannette, just follow the assembly seam carefully.
3) Then do the front: one side after the other, taking care toavoid pimples. Indeed, they are very fragile.
4) Then place the back by placing the shoulders of the shirt on the narrow end of the board. Work from the center outwards.
At any time during these stepsremember to wet or steam to moisten shirts and blouses properly before ironing.
4) Starch: required to properly iron a shirt?
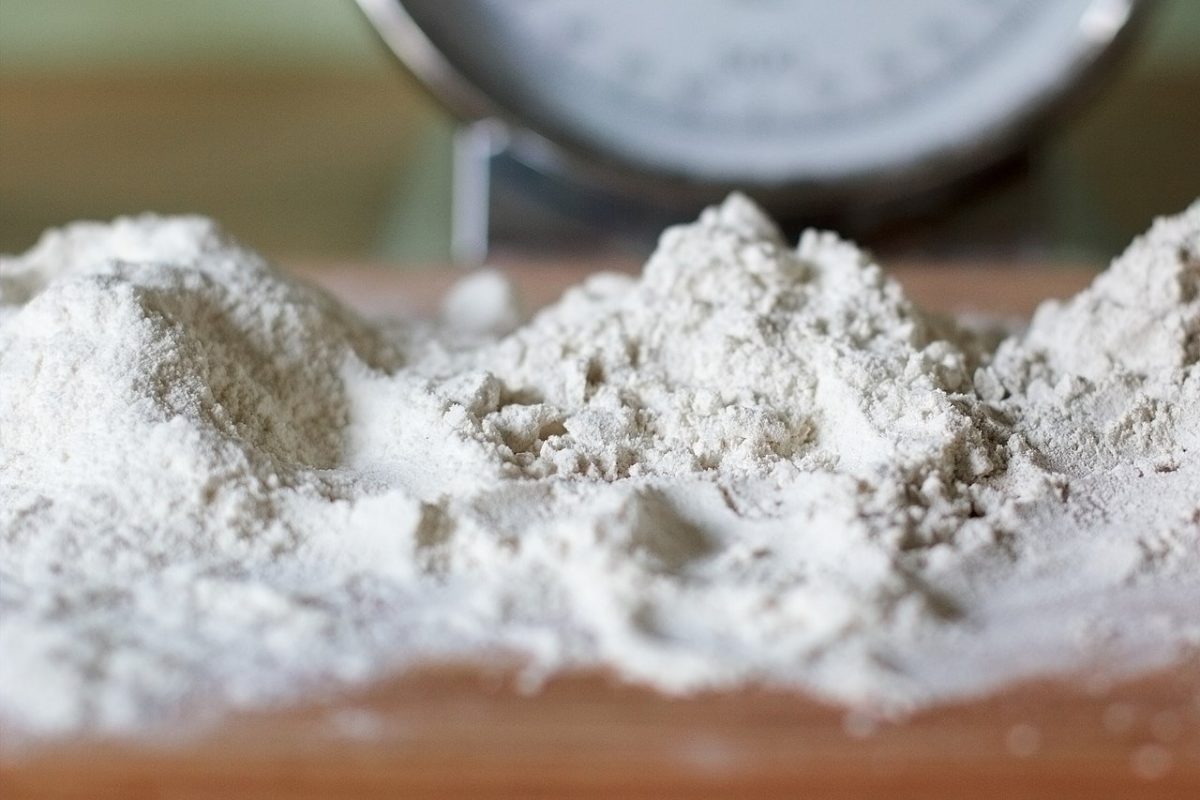
Sprayed or in a basin to soak the shirt once before wringing it out, all before ironing, starch has several uses. It helps to smooth out creases by giving a smoother and cleaner look to the fabric. In addition, this helps protect the fibers to keep the garment in good condition. However, it gives a cardboard effect to the shirt, which not everyone likes. It’s up to you to test and see if the result suits you, but it’s not absolutely not obligatory. To starch a shirt, you can use a store-bought product or opt for the homemade recipe. Next, use a hot iron to cook the starch!
Here are some natural homemade recipes to starch your shirt:
-Mix 1/2 tablespoon of cornstarch with 25 cl of water
-Add 4 tablespoons of starch powder with 575 ml of hot water
-In 500 ml of hot water, add 2.5 tablespoons of cornstarch (eg: Cornstarch).
-Mix 100 ml of unflavored vodka with 200 ml of water to provide rigidity to the fabric.


