Knowing your garden like the back of your hand is a good way for the gardener to maintain it well. Whether it is by allowing you to choose the right actions, the best fertilizer or the plants to sow to see your plantations prosper, this knowledge of the pH of the soil is really essential. And of course, it is sometimes possible to go to a garden center or specialized laboratory to have your soil analyzed. However, it is neither the fastest nor the most affordable and practical solution. Here are solutions accessible to everyone to measure the pH of the soil and succeed in their gardening work.
How important is soil pH in gardening?
Generally, the soil pH is between 4 and 9. Furthermore, a basic soil will most often be calcareous whereas a sandy or humus-rich soil will be rather acidic. However, there are no real rules in this area. What matters in the end is know where your ground is positioned. Most plants prefer neutral or slightly acidic soil to grow. In more acidic soil, bracken, foxgloves, horsetail, heather and even blueberries will thrive wonderfully. On the other hand, other plants will prefer alkaline/calcareous soil. This is the case for mallows, geraniums and even primroses.

However, abandon the idea of trying to rebalance the soil with lime or ashes. Nothing can profoundly change the nature of the soil : he is as he is, down to his most unreachable depths! Knowing the pH of the soil allows above all to choose plants adapted to the terrain. You can nevertheless consider exchanging plants and vegetables with other gardeners whose soil is different from yours in order to satisfy your desire for plants unsuitable for your land.
How to calculate the pH of garden soil?
The first step to establishing pH: taking soil samples
First of all, inspect your land in order to see if it is divided into several zones (sandy, clayey, etc.). If this is the case (or if you have any doubt), you will need to take several samples from different locations. If no area stands out, you can however take a single sample in several mixed samples.
To do this, equip yourself with glass jars and a small shovel (for example a transplanter). Then, collect small shovelfuls of the earth located at between 20 and 30 centimeters deep at several locations to obtain a representative sample. Above all, don’t just take soil from the surface. The topsoil will give you more meaningful results, because it is in this deeper area that your plants draw their nutrients.

Time to test the soil pH with three possible techniques
1) Use red cabbage to measure
Is it red cabbage season? Perfect, take the opportunity to test your soil! This is a traditional technique better known among gardeners which allows a first estimate of soil pH. It involves slicing red cabbage, boiling pure distilled water and submerging pieces of cabbage in it for ten minutes before removing them. Store the purple juice carefully in three different containers. In one of them add baking soda (alkaline), in the other pour lemon juice (acidic) and in the last add nothing more (this container will serve as a point of comparison) . Now leave it on for 30 minutes to an hour and observe the color obtained:
-If the mixture turns pink, the pH is acidic. The brighter the color, the more acidic the soil.
-If the water turns blue/green, the soil is alkaline. Here too, the brighter the color, the more basic the pH.
This tip is not necessarily very precise, but it gives a useful first indication.
2) An easier test with baking soda and white vinegar
Place your soil samples in two separate containers. In the first, pour white vinegar and observe what happens. If bubbles form, this shows that the soil is alkaline. In the second container, form a mud with the earth and water. Then add baking soda. If the mud fizzes, it means that the soil is acidic. On the other hand, if you do both of these tests and nothing happens, that shows that the ground is probably pretty neutral. Again, this is not a precise test, but it can help guide you.
3) A kit to test pH: the most precise technique

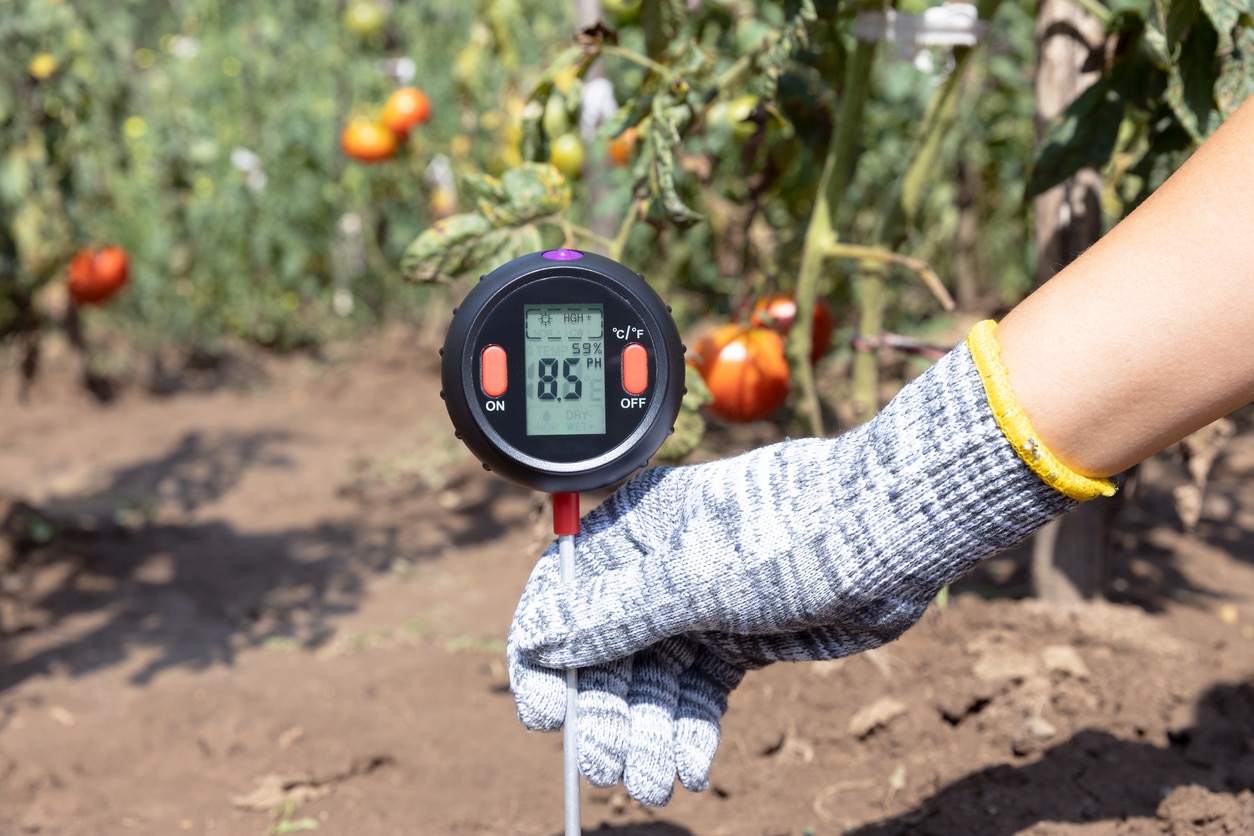
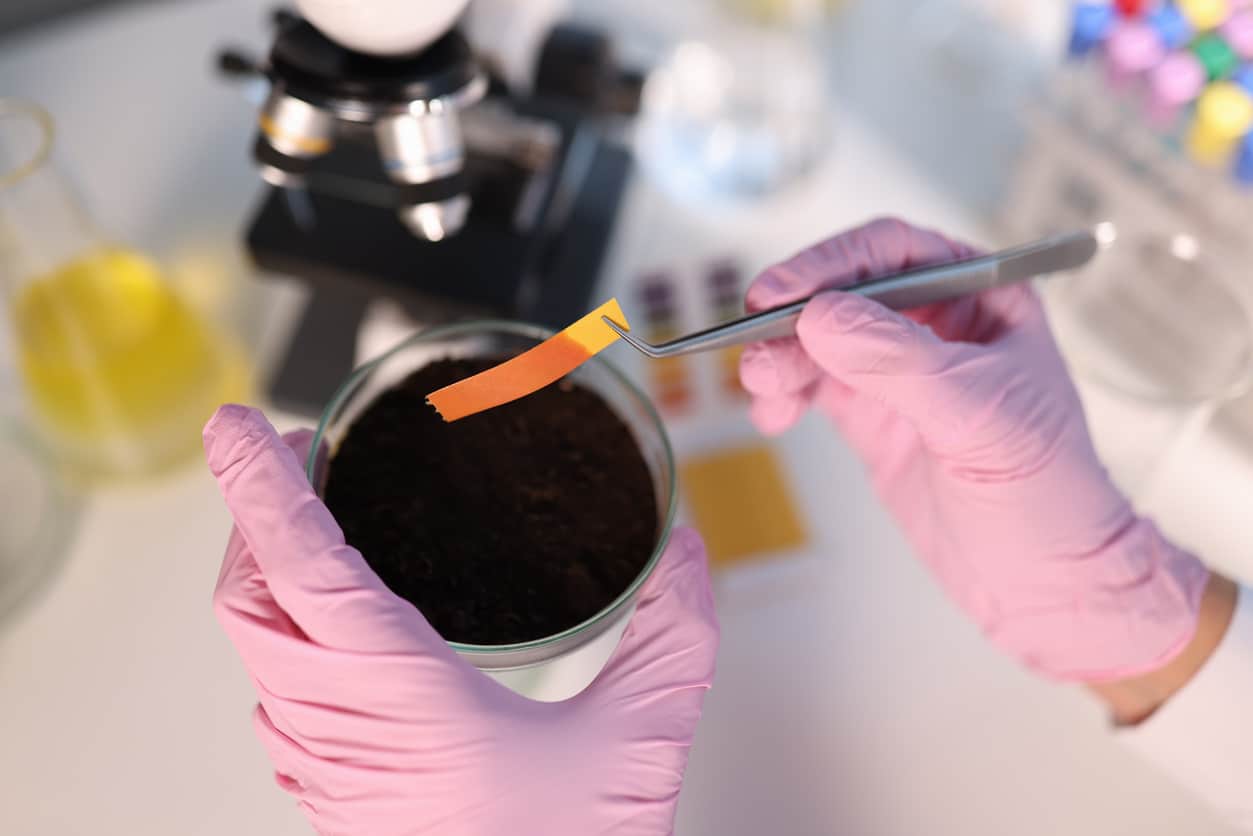
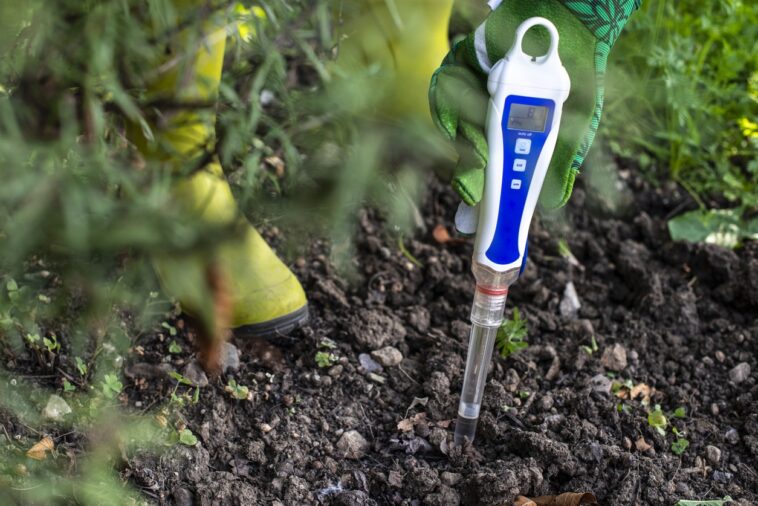
In garden centers, you will find kits to test the pH of your soil. They provide you with what you need, namely cardboard strips, test tubes and demineralized water. All you have to do is pour the demineralized water and a soil sample into a test tube, close everything, mix vigorously and leave to sit. You can then slip a strip there in order toanalyze the color obtained. If you have a more comfortable budget, you can also buy a probe tester, always at a garden center. However, playing chemistry with a test kit is always fun, especially if you have children!


