Many hair removal methods allow the fight against hair in the armpits, bikini line, legs and other parts of the body: shaving, electric epilator, laser, pulsed light, depilatory cream, cold wax strips… It is up to each person to test them to find YOUR favorite technique. Hair removal with hot wax or oriental wax nevertheless remains among the most durable and natural hair removal techniques as well as the least painful. However, making a successful homemade wax recipe for hair removal can be complicated when you first get started. Very often, wax is impossible to use for hair removal: too hard, too liquid, burnt… Here is a foolproof wax recipe for traditional homemade hair removal and all the little secrets to succeed.
What you need:
- 430g white sugar (you can try using other sugars, but this may change the liquid/sugar ratio)
- 60 ml lemon juice
- 30 ml of water
- 6 g of salt
- Glass jar
- Optional: a confectioner’s or pastry chef’s thermometer
Homemade hair removal wax step by step:
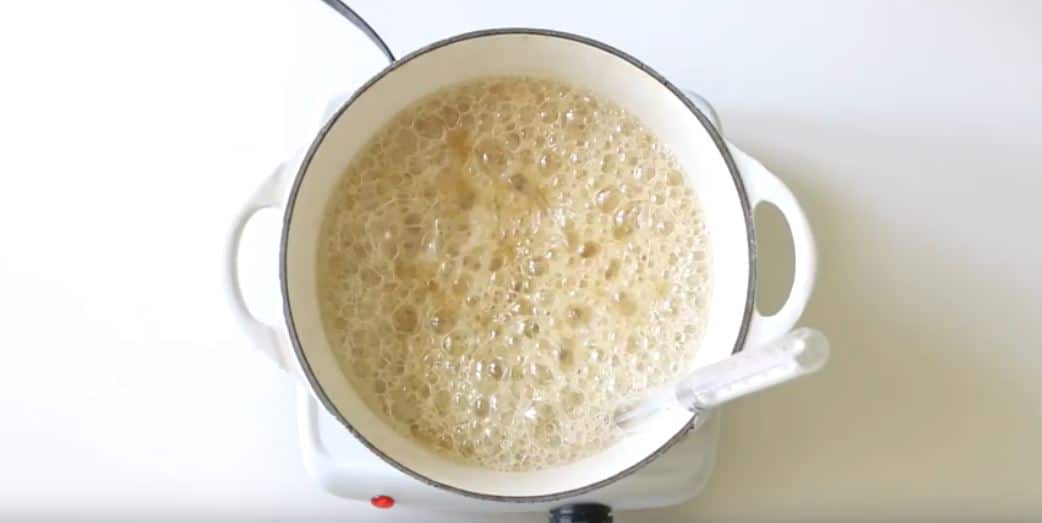
1) First, slide all your ingredients into a saucepan without mixing over medium heat. Indeed, mixing could cause the sugar to crystallize on the edges of the pan. And don’t heat it too hot out of impatience, the liquids will evaporate too quickly.
2) When it starts to heat up, gently swirl the pan occasionally to mix the ingredients.
3) Then let everything brown and take on the color of honey. Usually it takes 5 minutes and the thermometer reaches the 126°C.

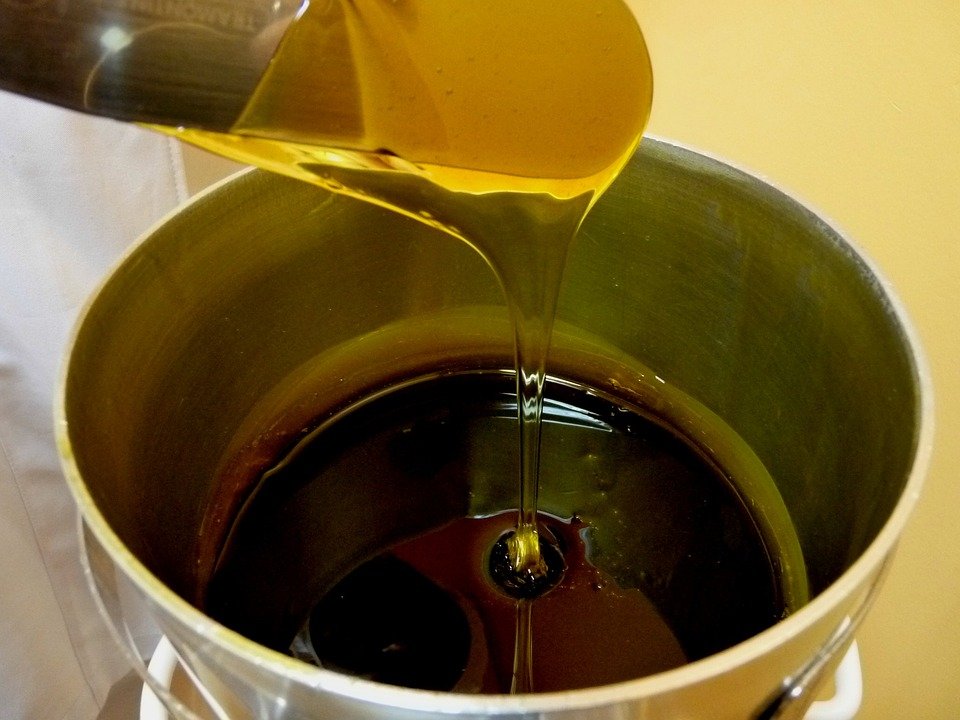
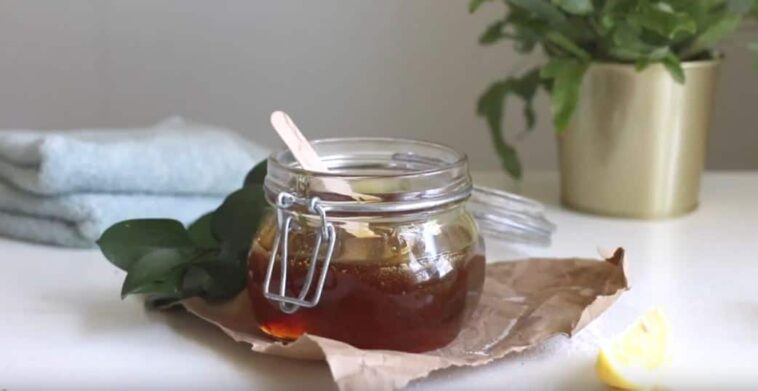
4) Pour it straight away into your glass jar previously heated for a long time with hot water. This gesture will prevent the pot from cracking with the heat of the wax. In addition, it is important to quickly remove the wax from the pan where it could continue to cook and harden.
5) Next, take a spoonful of wax and refrigerate it. Once cold, check its texture which should resemble that of a slightly sticky chewing gum. If it is too liquid, cook the wax for an additional 30 seconds. If it is good, let it cool before using it on the skin (short hairs of 5 to 6 mm ideally).
How to use your homemade hair removal wax?

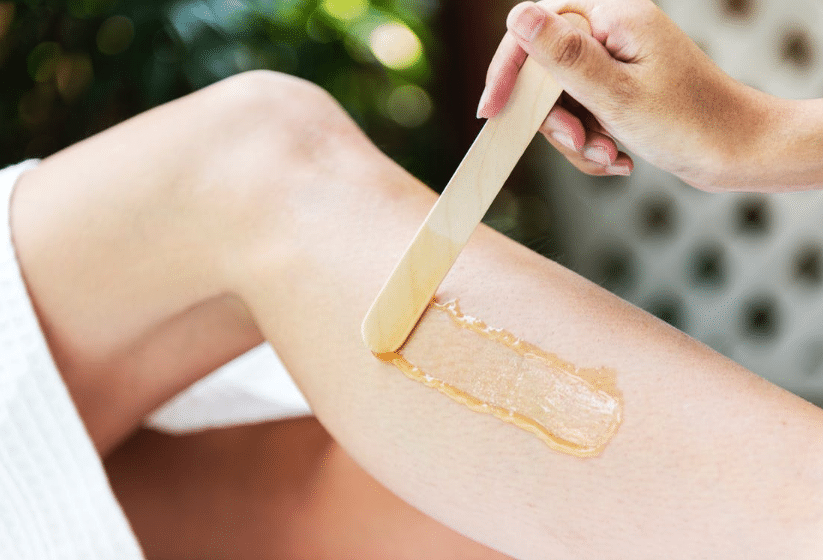
This wax keeps indefinitely in the fridge and softens in the microwave before use. To do this, heat in 15 second intervals, checking between each heating. It can be used without strips on the hair follicles if its consistency is successful. In this case, it can even be rolled up after use and reused several times until it no longer sticks. Sugar wax can be applied with a wooden spatula or by hand in the direction of hair growth like other hot waxes (then torn off in the opposite direction). However, for optimal results, the best thing is to apply it in the opposite direction to the hair. Then pull in the direction of the hair. This way, you are less likely to have ingrown hairs or redness and the regrowth will be prettier!
SOS… My homemade hair removal wax seems to be a failure!

In case homemade wax is too harsh for hair removal…
It is often a sign of cooking too long. In this case, you will need to add lemon juice. Then boil for 1 to 2 minutes. If necessary, start adding lemon again and bring to a boil again. However, if nothing helps, sometimes it is better to start from the beginning. Next time, cook for less time and don’t let the wax cool in the pan!
And on the contrary, if the homemade wax is too soft or liquid for hair removal…
In this case, it is better to return to cook for a few minutes. Otherwise, use it with cotton bands. For example, you can cut strips from an old, used sheet or pillowcase to recycle them. These strips can also be purchased online or from wholesalers of hairdressing or beauty products.
And when nothing works?
No need to make an emergency appointment with the beautician to find soft and smooth skin! Many reasons can prevent you from succeeding in your recipe: humid kitchen, unsuitable environment, thermometer out of adjustment or not precise enough, etc. Also, the best thing to do is to do several tests by adjusting ingredients or testing other recipes.


