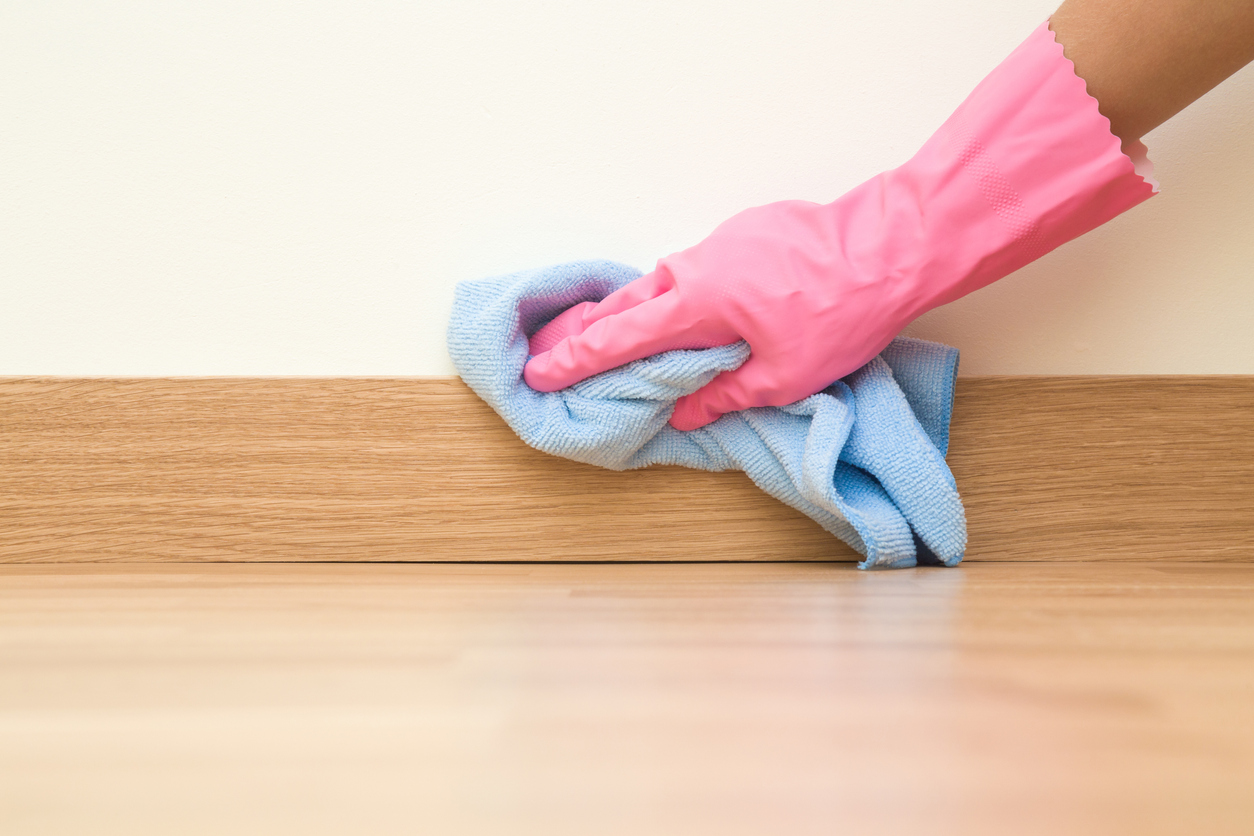
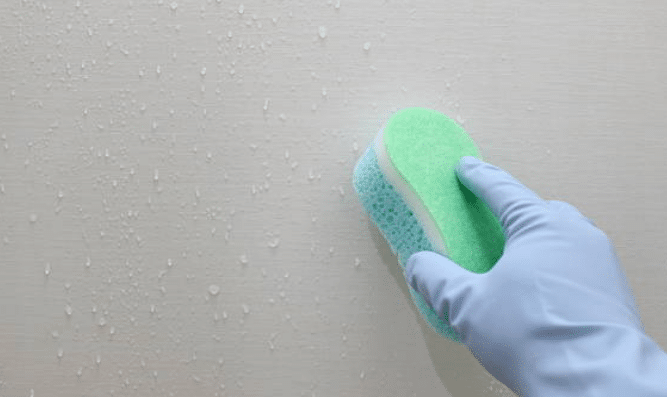
Washing the walls is an essential step before painting a wall, but also when the latter seems to need it badly. This is particularly the case if there are many stains and the wall has lost its shine. This isn’t the most pleasant step, but it needs to be done to ensure the paint adheres evenly. And then, do we have any idea of painting on dirty things? An economical, ecological and easy-to-use product allows you to do this with ease: soda crystals. Here’s Grandma’s tip for washing walls without chemicals!
What you need:
- A basin
- Two tablespoons of soda crystals
- White vinegar in a spray bottle
- A large sponge (a construction sponge is a good option here) as well as a clean cloth
- A pair of gloves
Steps to properly wash the walls:
1) Dust the wall.
2) Then pour a liter of hot water into your basin, then put on your gloves to protect your hands.
3) Add the soda crystals to the water and mix everything to dissolve them.
4) Take your sponge and apply the product to your walls. Then leave it on for 2 minutes.
5) Spray the walls with white vinegar to neutralize the effects of soda.
6) Dry everything with your cloth. So ! Your wall is impeccable and ready to receive its coat of paint. In addition to our tips for becoming a painting pro, you should therefore have a perfect result on your walls. All without breaking a sweat…

Aside from washing the walls, how do you prepare everything before painting?
Before painting a wall, good preparation is essential to obtain a clear and lasting resultand there’s more than just laundry to do. Of course, start by emptying the room as much as possible to make your work easier. Next, cover the remaining furniture with tarps and place masking tape around baseboards, windows and light switches. Also unroll a tarpaulin on the ground to prevent splashing.
Following this, examine the surface and look for cracks, holes and irregularities. You can use tricks to fill in these imperfections and smooth everything out using a putty knife. Once the plaster has dried, lightly sand the repaired areas with fine sandpaper so that the wall is very uniform. Sanding is essential to improve paint adhesion, especially on previously painted or glossy walls. Sandpaper the entire surface to remove any rough edges and prepare a slightly rough base, ideal for the new coat of paint. Once sanding is complete, carefully remove dust which could spoil the application of the paint. Use a damp cloth or sponge to clean the wall, then let it dry.
Finally, take the time toapply an undercoat appropriate for the room and the paint you plan to use. This undercoat guarantees better adhesion and a uniform color, especially if the wall is dark or porous. This step is therefore crucial to save paint and obtain a homogeneous result. And if it’s a damp room like the bathroom or kitchen, this will prevent the paint from cracking or getting damaged.


