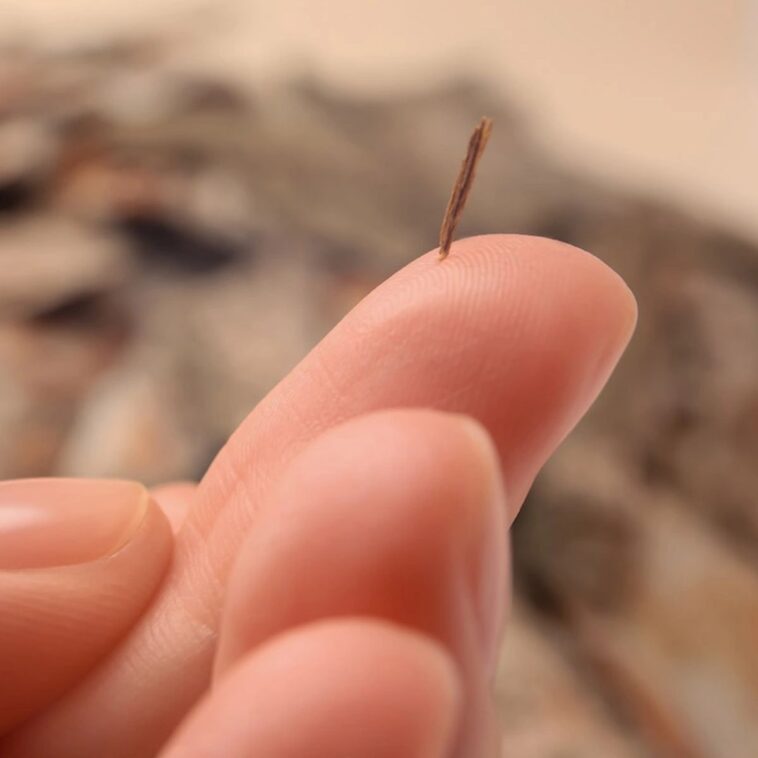
Splinters are tiny but surprisingly bothersome. Whether from a wooden surface or garden work, they lodge themselves under the skin, causing discomfort and sometimes even pain. Removing them with tweezers can be tricky and often painful, but there’s a gentle home remedy that works wonders. All you need are simple ingredients that you likely already have in your kitchen: baking soda, a bit of water, and a small bandage or gauze.
This remedy is not only effective but also easy and quick. It encourages the splinter to work its way out naturally without needing to dig around in the skin with needles or tweezers. Let’s dive into the steps to safely and gently remove a splinter.
What You’ll Need
Here’s a quick list of ingredients you’ll need for this simple splinter removal remedy:
- 1 tablespoon of baking soda
- A small amount of water
- A bandage or a small piece of gauze
With these, you can create a paste that gently encourages the splinter to the surface, where it can be easily removed without any further hassle.
Step-by-Step Guide for Removing a Splinter with Baking Soda
1. Clean the Affected Area
Before you apply the baking soda paste, wash the area with mild soap and warm water. This step helps prevent infection and ensures that the skin around the splinter is clean.
2. Prepare the Baking Soda Paste
In a small bowl, combine 1 tablespoon of baking soda with just enough water to form a thick paste. The paste should be thick enough to stick to the skin without running. Baking soda works as a gentle irritant that helps the skin swell slightly, which can push the splinter closer to the surface.
3. Apply the Paste to the Splinter Area
Once your paste is ready, apply it directly over the area where the splinter is lodged. Cover the area with a bandage or a piece of gauze to keep the paste in place. This will ensure that the baking soda mixture has time to work on drawing the splinter out.
4. Let the Mixture Work
Leave the paste and bandage on for about few hours. During this time, the baking soda’s properties will help bring the splinter closer to the skin’s surface. If the splinter is deep, you may need to repeat the process a couple of times, but many people find that one application does the trick.
5. Check and Remove the Splinter
After few hours, carefully remove the bandage and check if the splinter is closer to the surface. In many cases, the splinter will be easier to remove and may even come out on its own. If it’s visible, you can gently pull it out with tweezers. If it’s not yet ready, reapply the baking soda paste and leave it on for another few hours.
Why Baking Soda Works for Splinter Removal
Baking soda is mildly alkaline, which encourages the skin to swell slightly and push the splinter out. It’s a gentle method compared to digging or squeezing, which can hurt and even push the splinter in further. This paste approach is especially useful for smaller or deeper splinters, as it works by creating a path for the splinter to naturally come to the surface.
Tips to Avoid Infection After Splinter Removal
After you’ve successfully removed the splinter, make sure to wash the area again and apply a gentle antiseptic to avoid any infection. Cover the area with a fresh bandage if the skin is open or sensitive. Keep an eye on it for any signs of redness or swelling, which could indicate infection.
When to Seek Medical Help
While this home remedy is highly effective for most splinters, there are times when professional help is necessary. If the splinter is large, deeply embedded, or if the area shows signs of infection like redness, warmth, or pus, it’s best to consult a healthcare professional.
This simple baking soda remedy provides a pain-free and effective way to tackle pesky splinters. With just a few common household items, you can save yourself a trip to the doctor’s office or the hassle of trying to dig out the splinter yourself.


